


SSL certificate generation process consists of several stages.
1. Go to the control panel billing.hostpro.ua in the section «My Services»: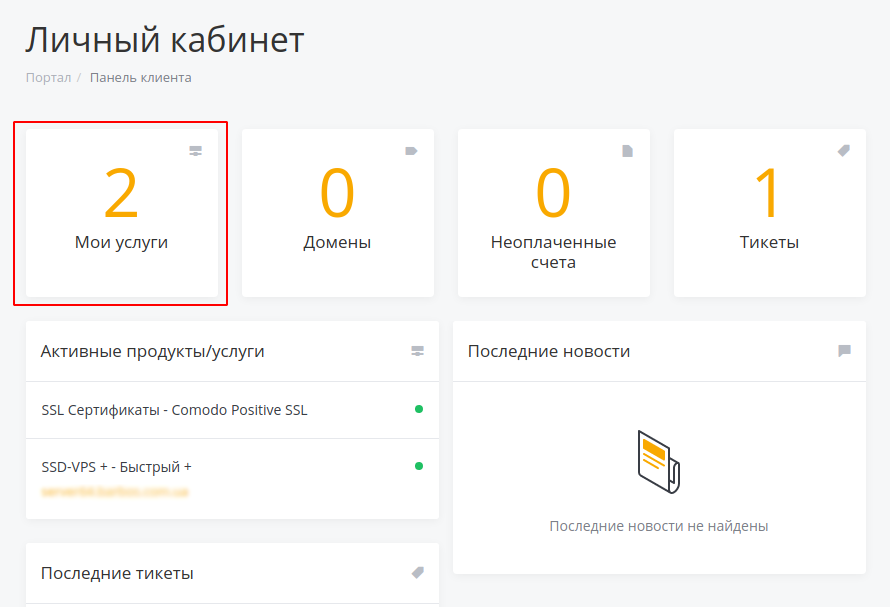
2. Click on «Management Actions» of the SSL certificate: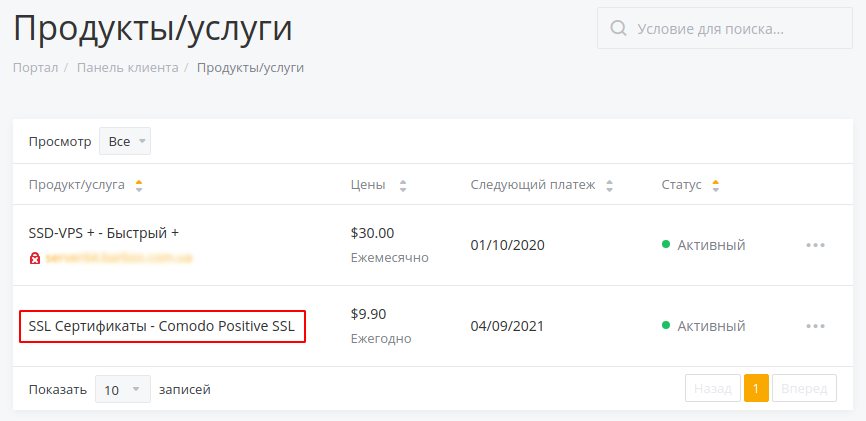
3. The CSR key is required to perform the generation of the SSL certificate.
This key is generated in conjunction with the RSA key, which is subsequently required to install the certificate. To generate RSA and CSR keys click on the «CSR Generator» tab.
Fill all the fields in English and click «Generate CSR»: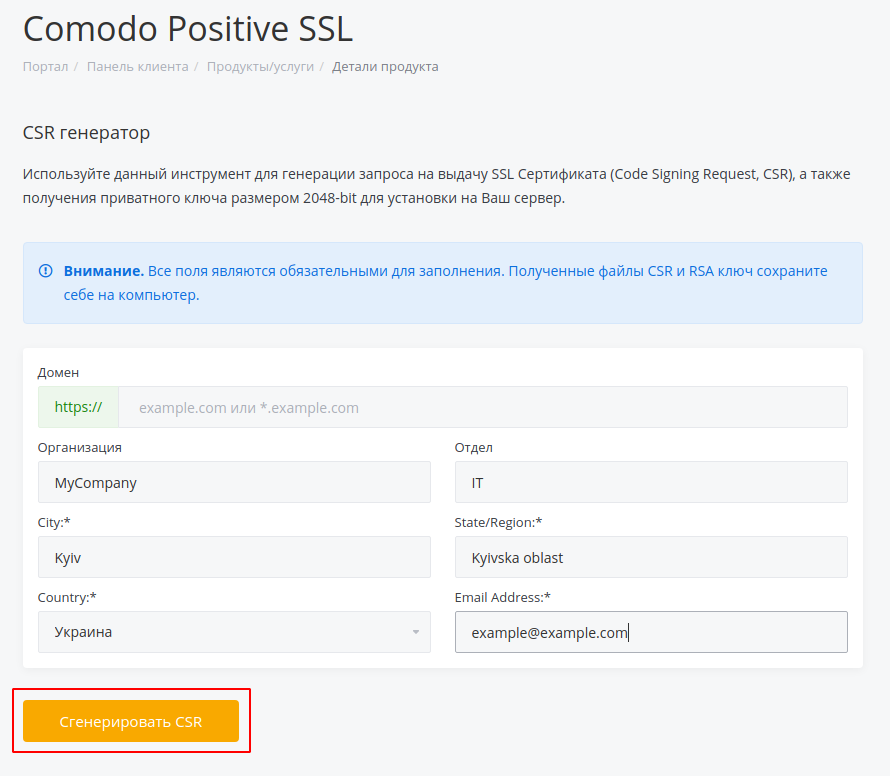
4. As a result of the generation, we have 2 keys: CSR (used to generate the SSL certificate) and RSA (used to install the SSL certificate):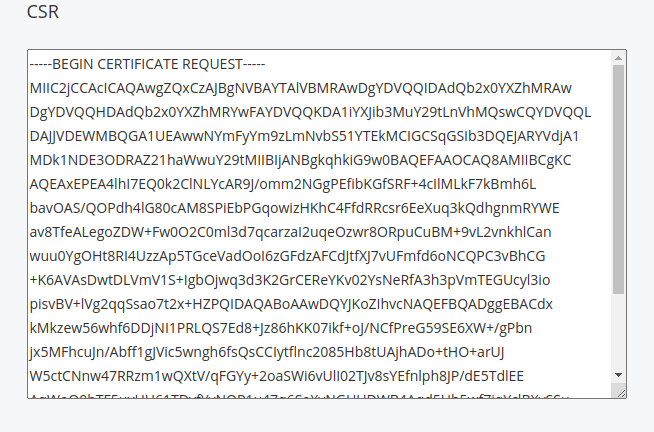
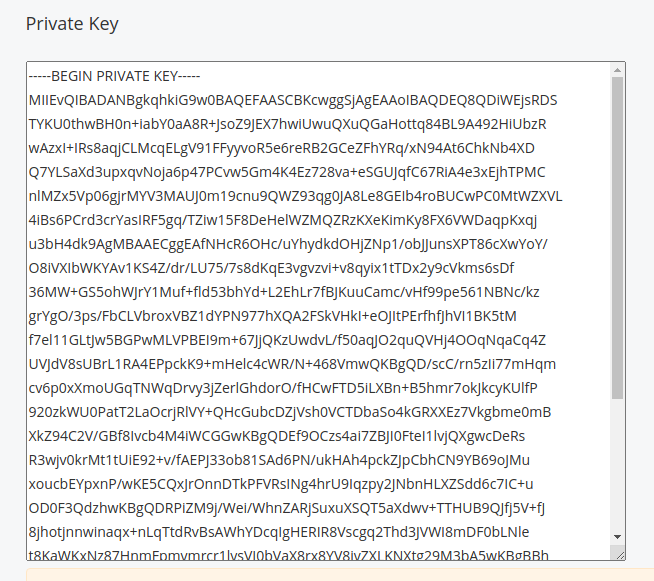
5. CSR and RSA keys must be saved on your computer (as text files).
6. When you have a pair of generated keys, you can start generation of the SSL certificate.
Go to the «My Services» section and click on «Management Actions» of the SSL certificate. In the «Order Status» field click on «Generate Cert Now»: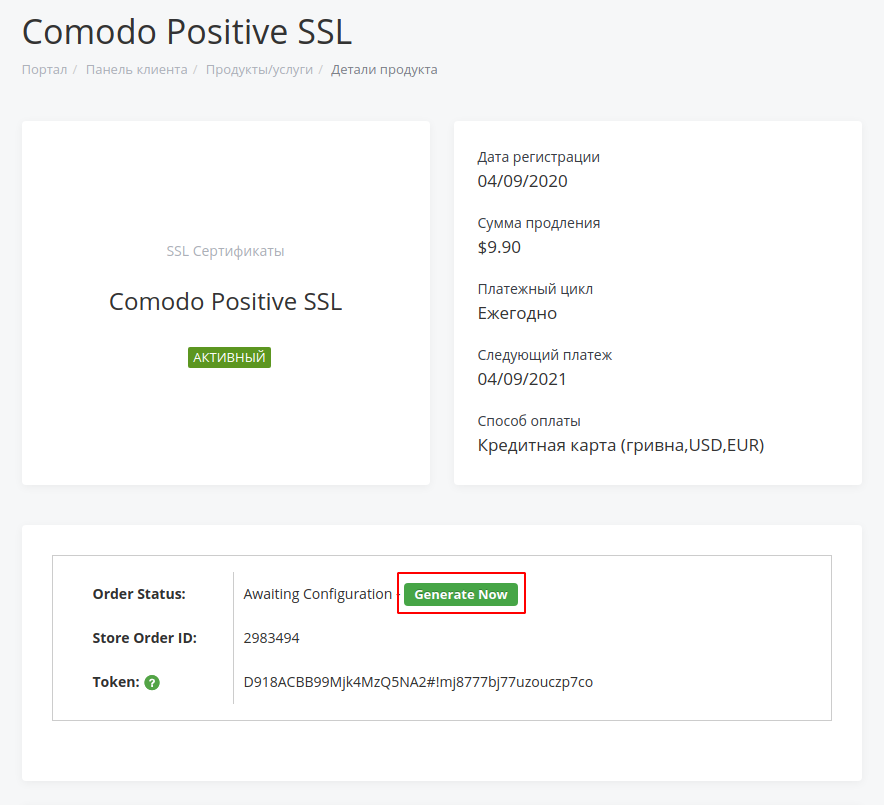
7. First of all select the type of web server. In 95% of cases this is Apache + ModSSL.
If you are using a Windows server, you have to select IIS Web server.
If you are using a non-standard type of web server - you need to contact technical support for clarifying the type of web server.
Choose the appropriate type of web server: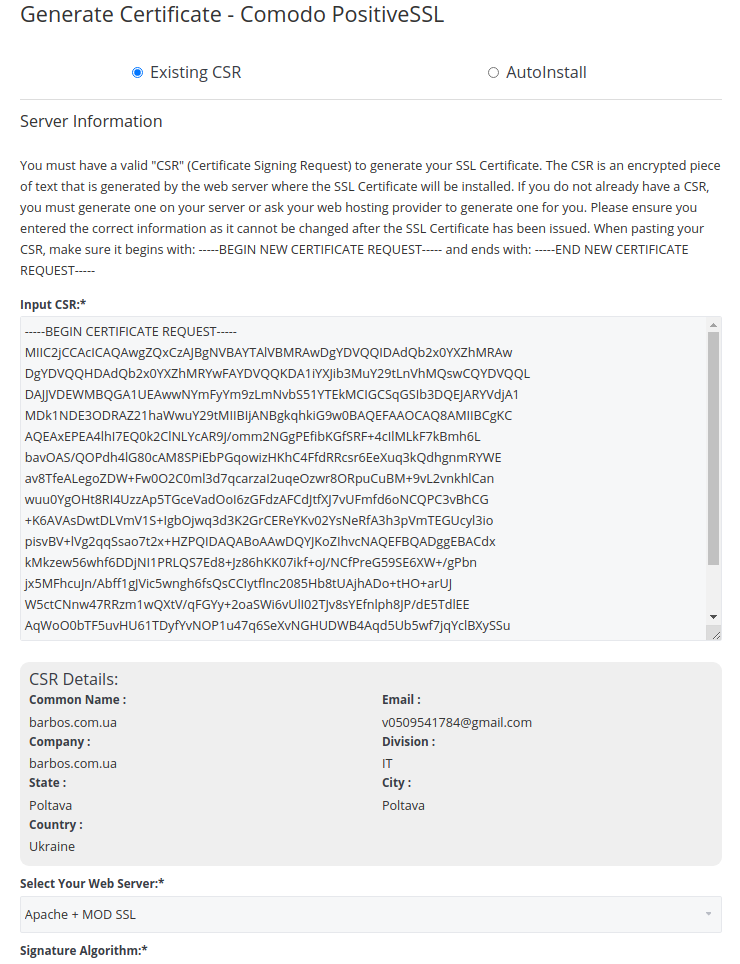
In the field «Input Your CSR»" insert (without extra characters) your CSR key that was generated earlier.
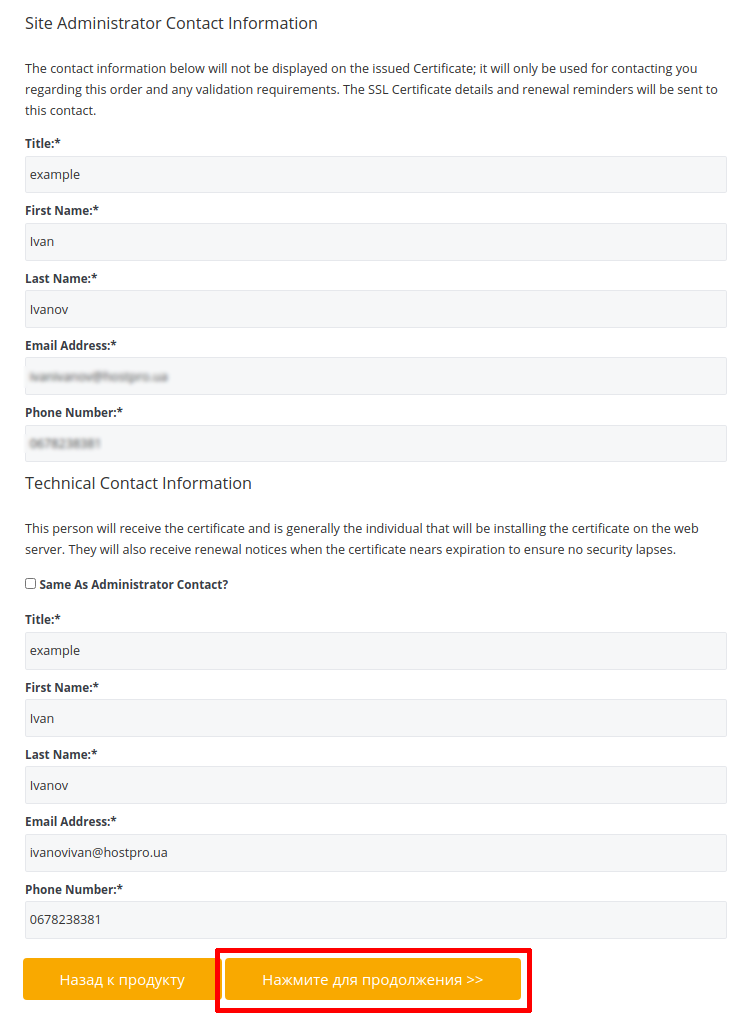
In the blocks «Technical Contact Information» and «Contact Administrator», Fill all the fields in English. After that click on the button «Click to continue» :
8. The next step is to select the validation type for the SSL certificate: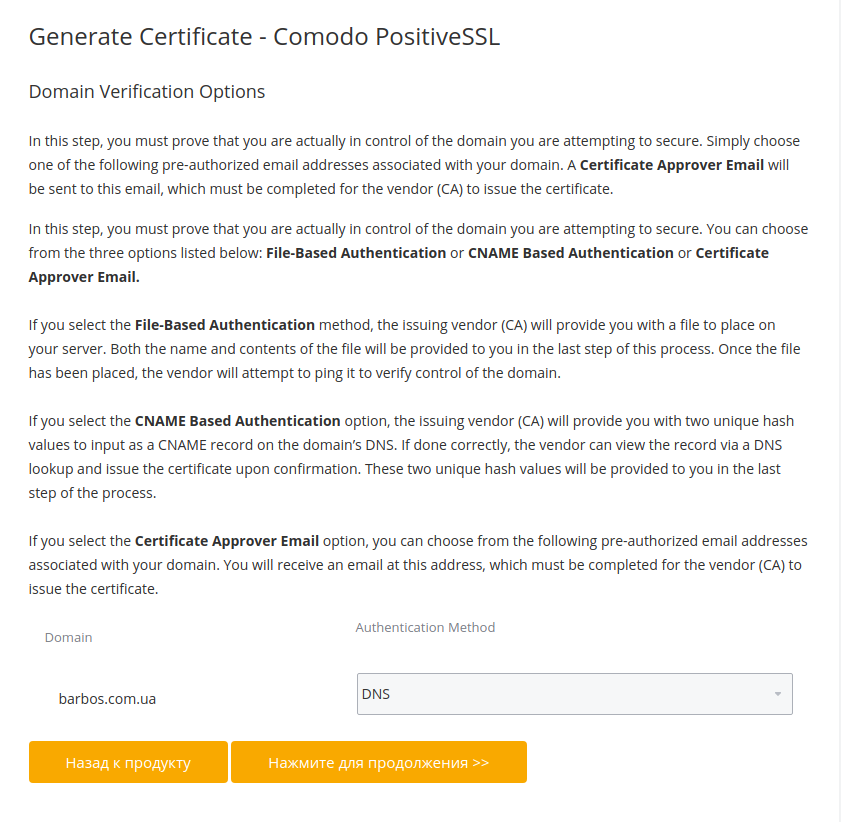
8.1 - HTTP File-Based Authentication - passing validation by file. If you choose this type of validation - you will be given a unique file (how to download the validation file you may check in point 9). You will need to upload this file to the server where the site is located.
In the root directory of the site, create a hidden directory .well-known/
In the .well-known directory, create pki-validation/ directory.
Next, in pki-validation/ upload the authorization file (using FTP access or the file manager of the server or control panel). If everything is done correctly - certificate will be active in 30-60 minutes.
8.2 - DNS - passing validation by DNS record. In this case, a unique CNAME record is provided, which must be registered by the owner of the NS (domain name registrar). The validation process, if the entry is added correctly, may take up to 24 hours, as it will be necessary to wait for the DNS zone update.
8.3 - Mailbox - passing validation by mail. In this case - to pass validation - you need to create one of the listed email accounts on the screenshot (mail of the domain name should work correctly). Select created email account. In received email will be a link. You will need to follow the link from the letter and paste the code into the form. If everything is done correctly - certificate will be active in 30-60 minutes.
8.4 - HTTPS File-Based Authentication - passing validation of a file, similar to the HTTP File-Based Authentication. This type should be selected if the site already works using the https:// protocol.
After you have selected optimal type of validation - click on the button «Click to continue».
The process of generating the certificate is completed:
9. Go to the «My Services» section and click on «Management Actions» of the SSL certificate in the control panel billing.hostpro.ua.
The status of the certificate should be changed to Pending.
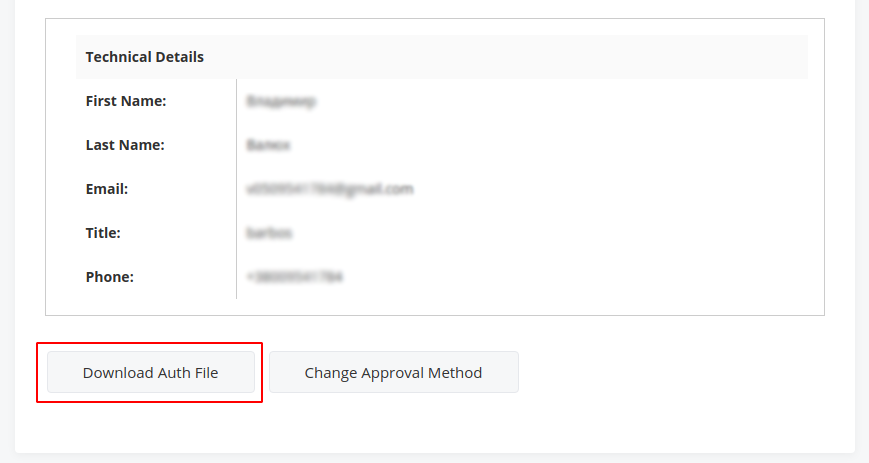
If you selected the "HTTP File-Based Authentication" or "HTTPS File-Based Authentication" type of validation, «Download Auth File» button will also be available: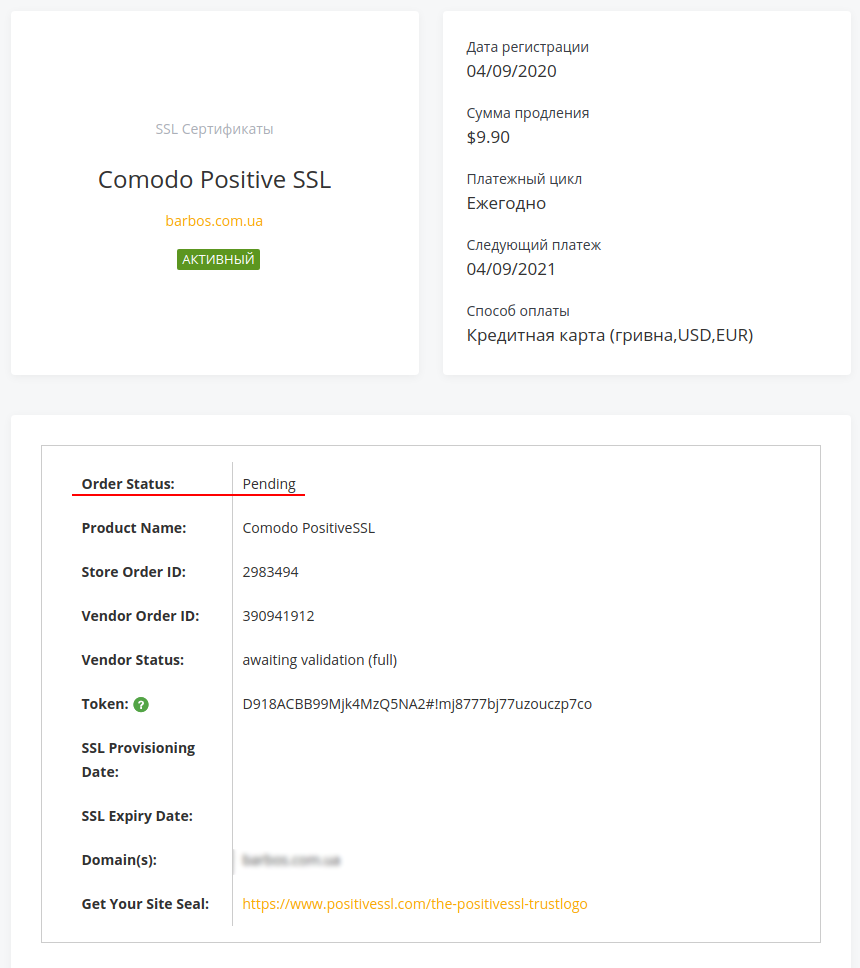
Download the validation file (in most cases, the filename is a set of digits with .txt extension)
Download the validation file, according to the instructions (clause 8.1)
Open the file in the browser along the path:
After that, you have to wait till certificate will be active (up to 30-60 minutes). If the validation was successful, the status of the certificate service will be changed from "Pending" to "Active". There is also a button for downloading certificate files (Download Certificate):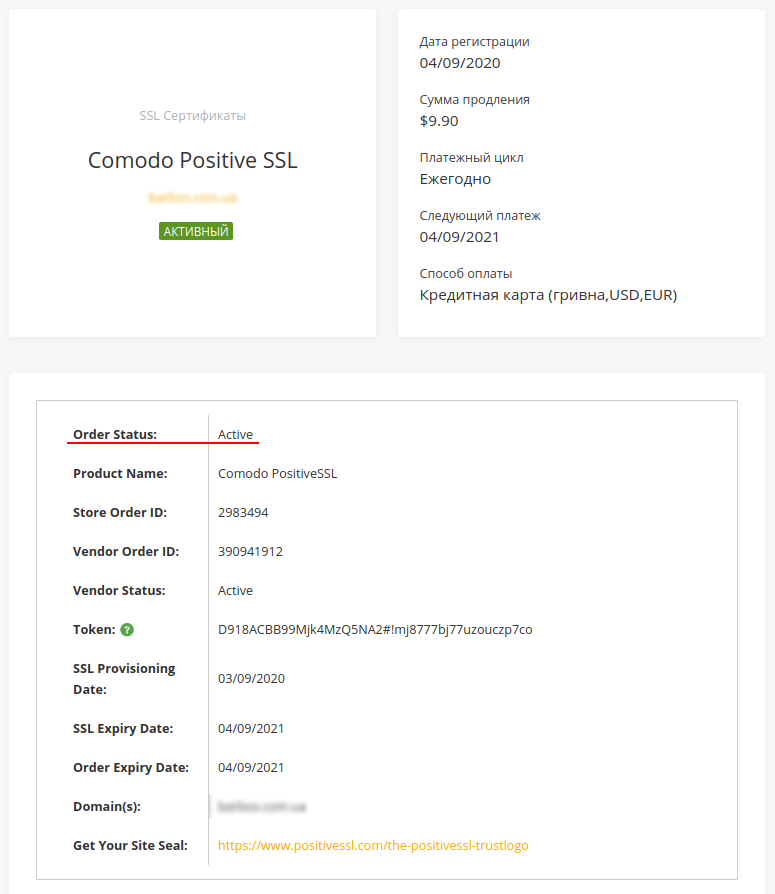
The Re-issue Certificate button completely clears the certificate information and allows you to re-execute the SSL certificate generation (if necessary).
As a result, you have all necessary files to install the SSL certificate:
-
RSA key
-
The certificate file (in the downloaded archive - domain_name.crt)
-
3 files for creating a chain (CaBundle)
Using the above keys, you can install the certificate on your site from the server side.
If you have any questions - you can contact our technical support department - https://hostpro.ua/en/contacts.html
Detailed instructions for installing the certificate on popular control panels will be presented in the articles of the knowledgebasehttps://billing.hostpro.ua/knowledgebase.php
