


To generate DKIM records you can use the functions of the control panel, which is installed on the server. Remember, for the record to work properly, it must be added to the DNS settings.
If our DNSs are used for your domain name:
master.hostsila.com.
slave.hostsila.net.
slave2.hostsila.com.
slave3.hostsila.net.
To add the record, it’ll be enough to add the record in the zone file on the server according to the instructions and wait till the DNS zone updates (2-72 hours). After that, the record will start working.
If other DNS functions of the panel are written for the domain name, you can generate the necessary records on condition that they must be added to DNS. Most often, it is done on the domain name registrar’s panel in the DNS settings or, in other rare cases, it is done on the DNS owner’s side. If you doubt the accuracy of your actions, you can always reach out to our tech support in any convenient way.
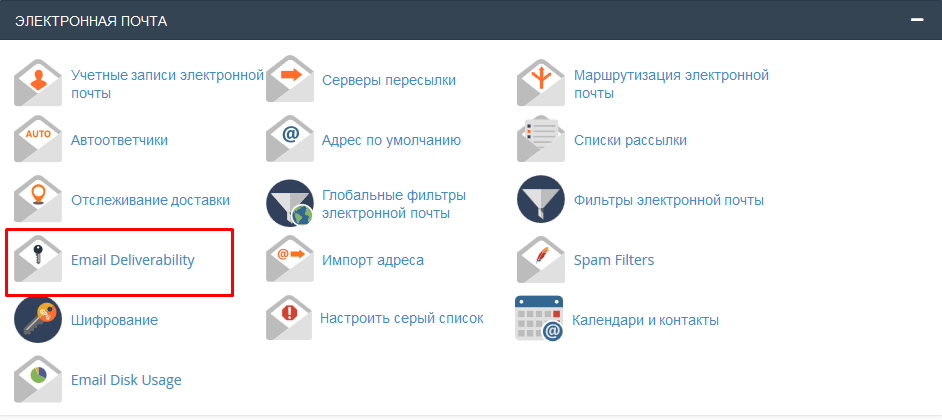
DKIM in the cPanel control panel
Go to the Email Deliverability section:
Click Control next to the necessary domain name:

Find the DKIM block. Here you’ll see the necessary record:
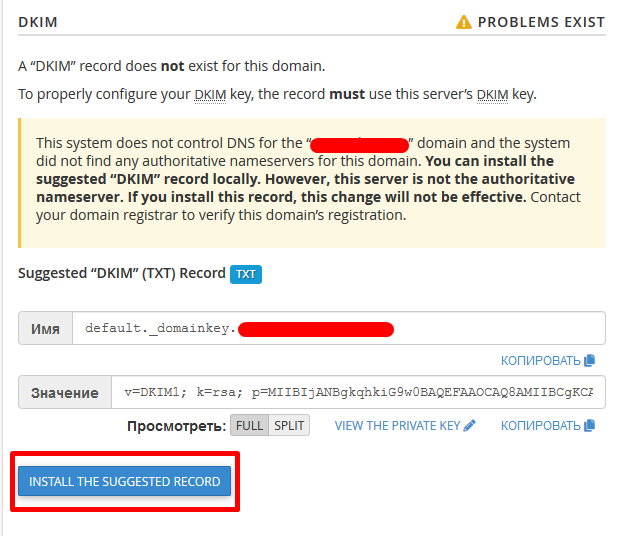
To add the record in the zone file on the server, click Install the suggested record.
Note that for the record to work, the given record must be present in DNS.
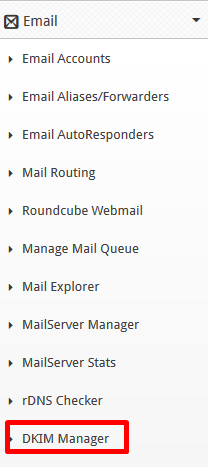
DKIM in the CWP (Centos Web Panel) control panel
Go to the Email section → DKIM Manager
In the block, choose the necessary domain name and click Add DKIM
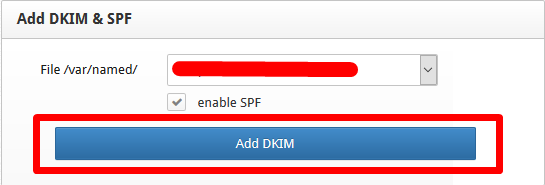
After adding, the record for the domain name will appear in the block at the bottom of the page.

After you click on Edit Records, the list of all records will be opened where DKIM record will also be present.
Note that for the record to work, it must be present in DNS.
DKIM in the ISP 5 (ISP manager 5) control panel
The first thing to do is to check whether the DKIM technology is installed on the server. Go to the Settings section → Possibilities.
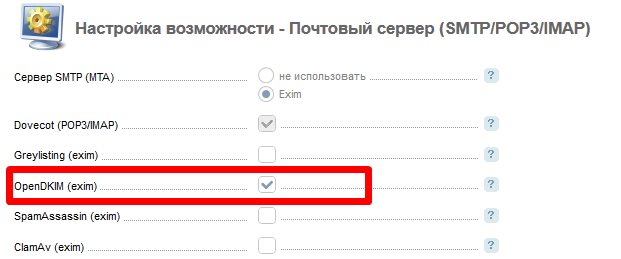
Choose Mail Server (SMTP/POP3/IMAP) and click twice on it.

If there’s no tick next to the OpenDKIM (exim), put it and click Apply Changes:
After installation, go to the Domains section → Mail Domains. Choose the necessary domain name and click Change.

Check the box next to the Enable DKIM for the domain and then click OK:

Go to the Domains section → Domain names. Select the necessary domain name and choose Records.
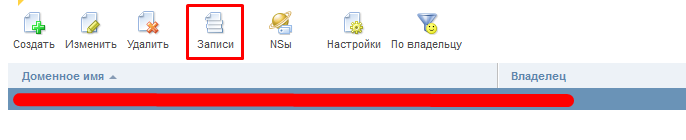
Here all records will be presented, including DKIM.
Remember, for the record to work, it must be present in DNS.
